For this guide, we will be turning an existing pop up sprinkler into a Micro Irrigation system.
Micro Irrigation systems have a time and place, when looking at minimising water wastage in garden beds it is an ideal solution. These systems are great for creating something suitable and flexible to your own garden set up, however not ideal for covering large areas.
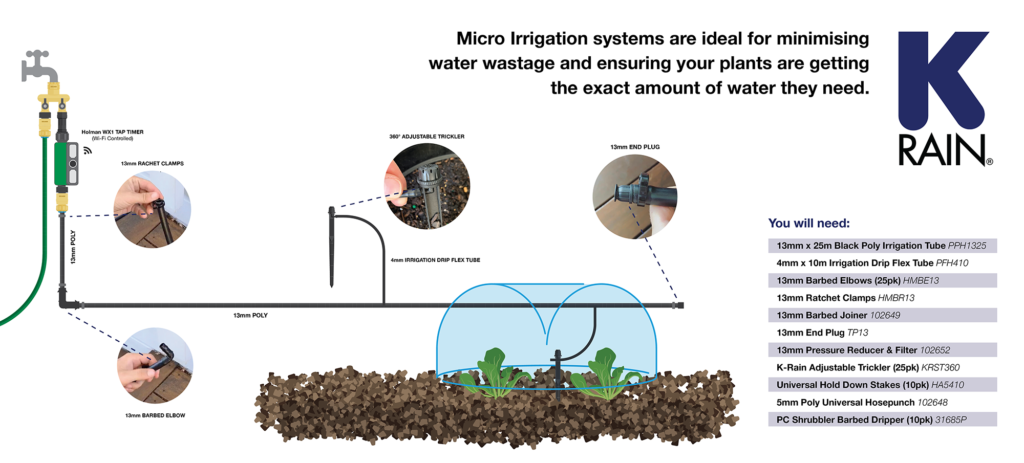
When watering in garden beds, a lot of water can be wasted when using micro sprays or sprinklers, by changing to Micro Irrigation, this allows for water to be delivered directly to plant roots, minimising water wastage.
There will usually be a trade off between initial time and money investment depending on the watering style chosen. A sophisticated and automatic Micro Irrigation system will turn on and off automatically and will not require much past the initial install.
This option requires a bit of planning, product outlay and installation time, however, it saves you from daily hand watering.
Getting started:
We have used a mixture of Holman Industries and K-Rain Micro Irrigation products. These can be found at your local hardware stores.

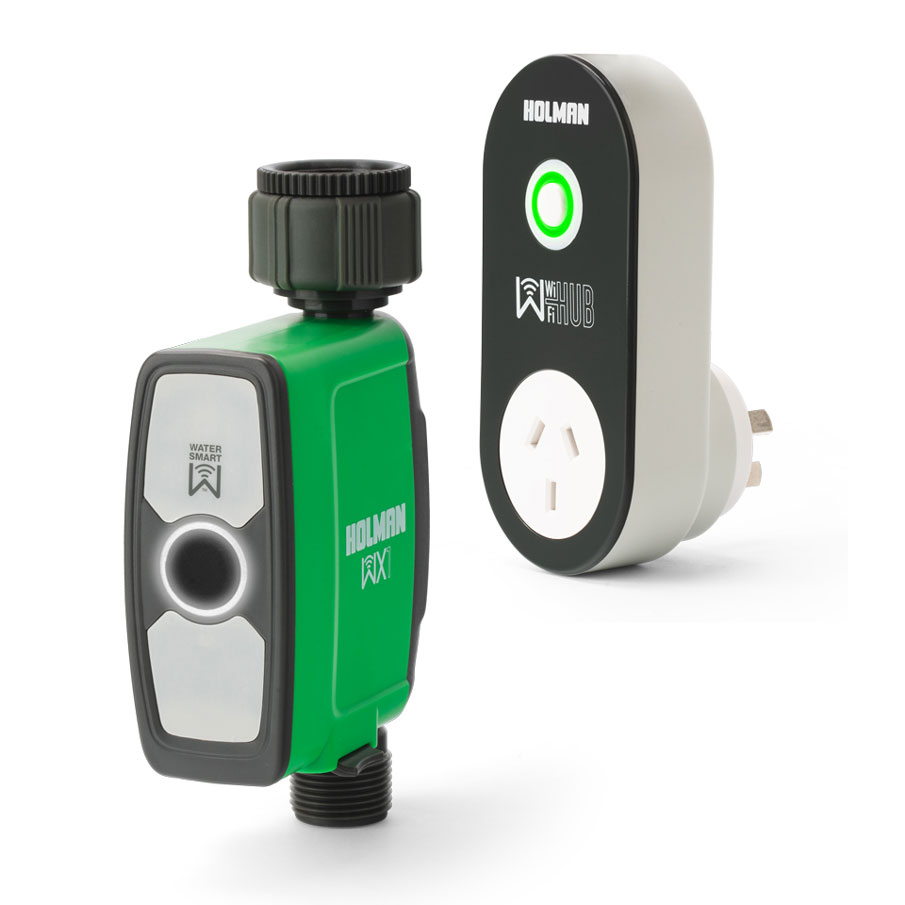
Holman WX1 Tap Timer
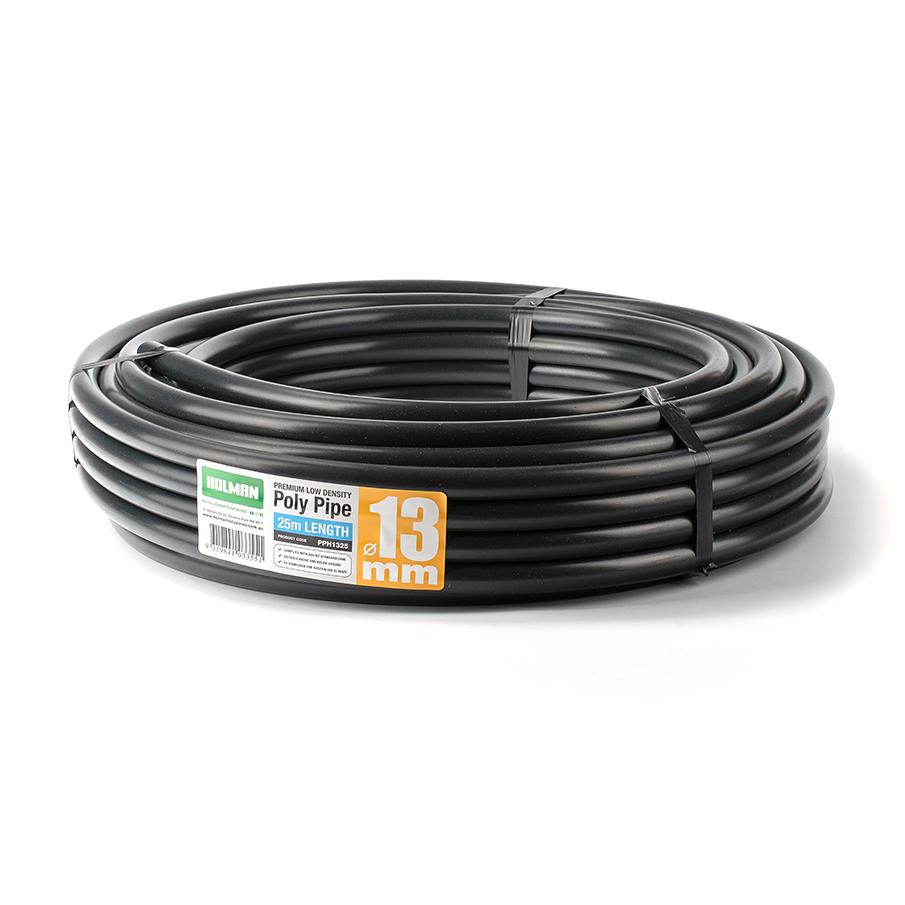
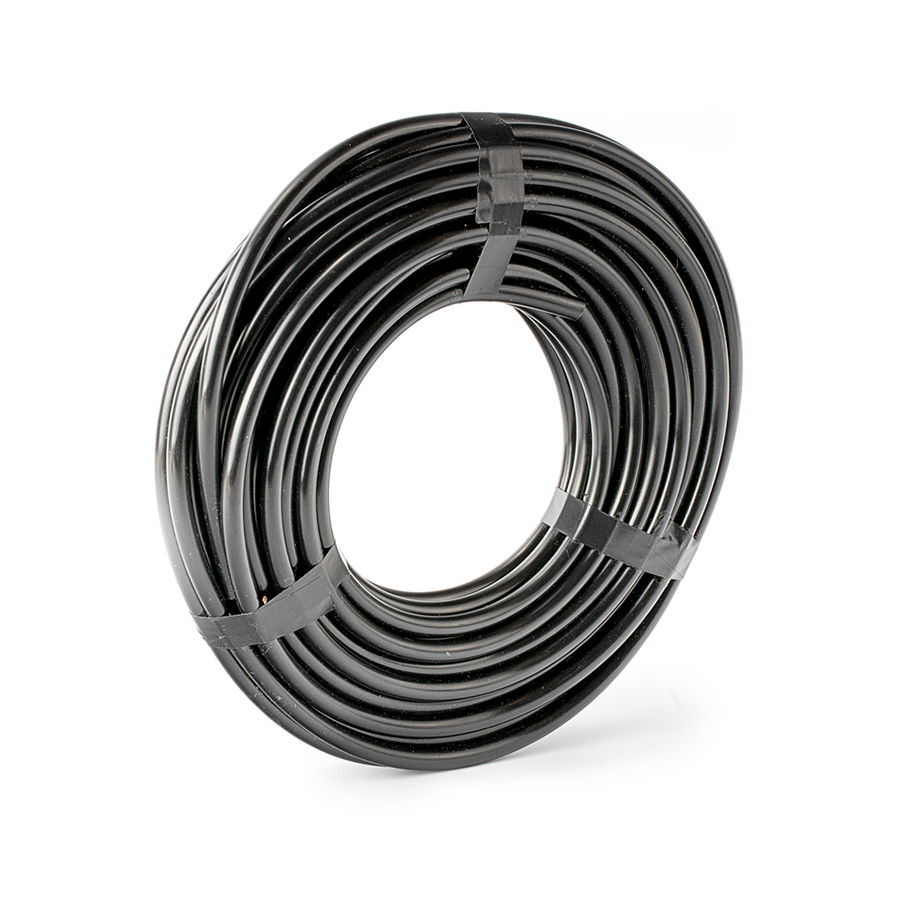
Holman 13mm Poly Pipe
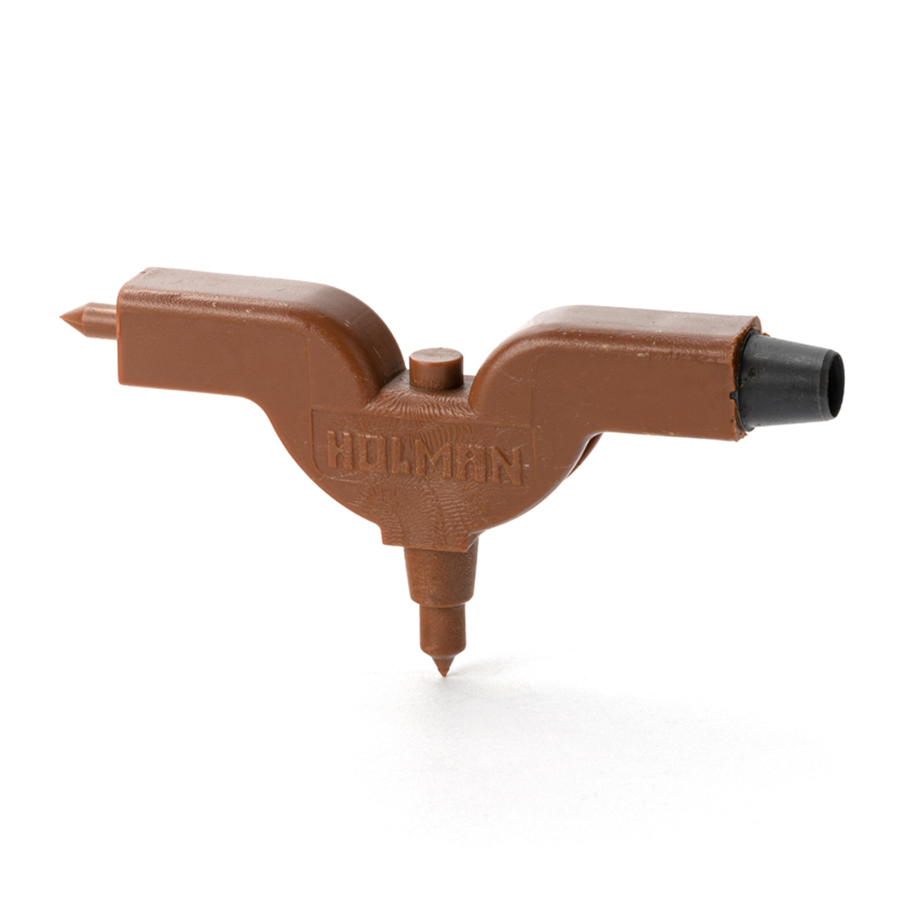
Holman Universal Drip Punch
Holman 4mm Flex Tube
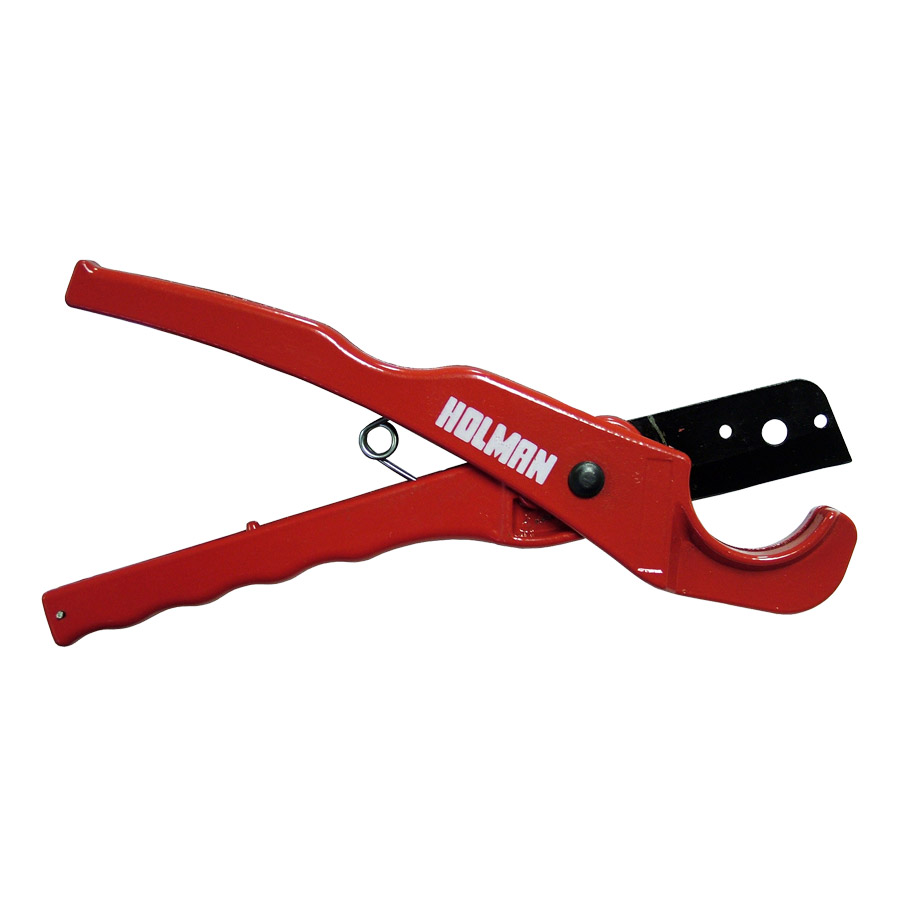
Holman Universal Pipe Cutter
Follow our step by step guide below, or watch our Micro Irrigation tutorial. We have used 13mm fittings, these can be changed to suit your current irrigation set-up.
Step 1
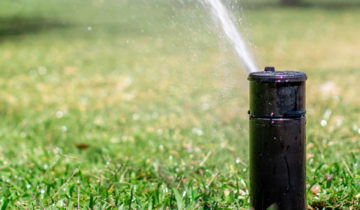
Start by locating the spray head that you will be converting, we recommend choosing a sprayer that is central in your garden. You will need to clear the dirt around the area and safely unscrew the spray head and body.
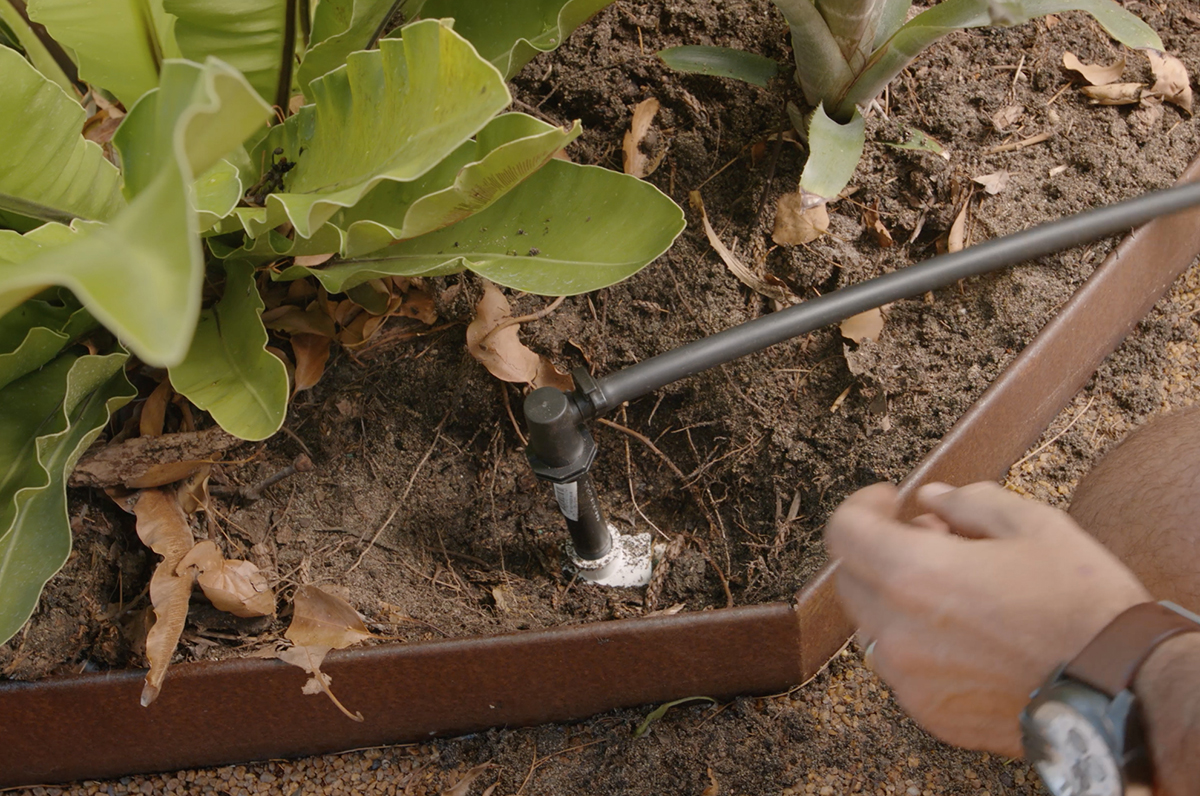
Step 2
Attach a 13mm riser to your sprinkler system that is slightly taller than ground level. We suggest flushing your system to remove any debris or clogged dirt. Briefly turn on your sprinkler system until you see the water bubble through.
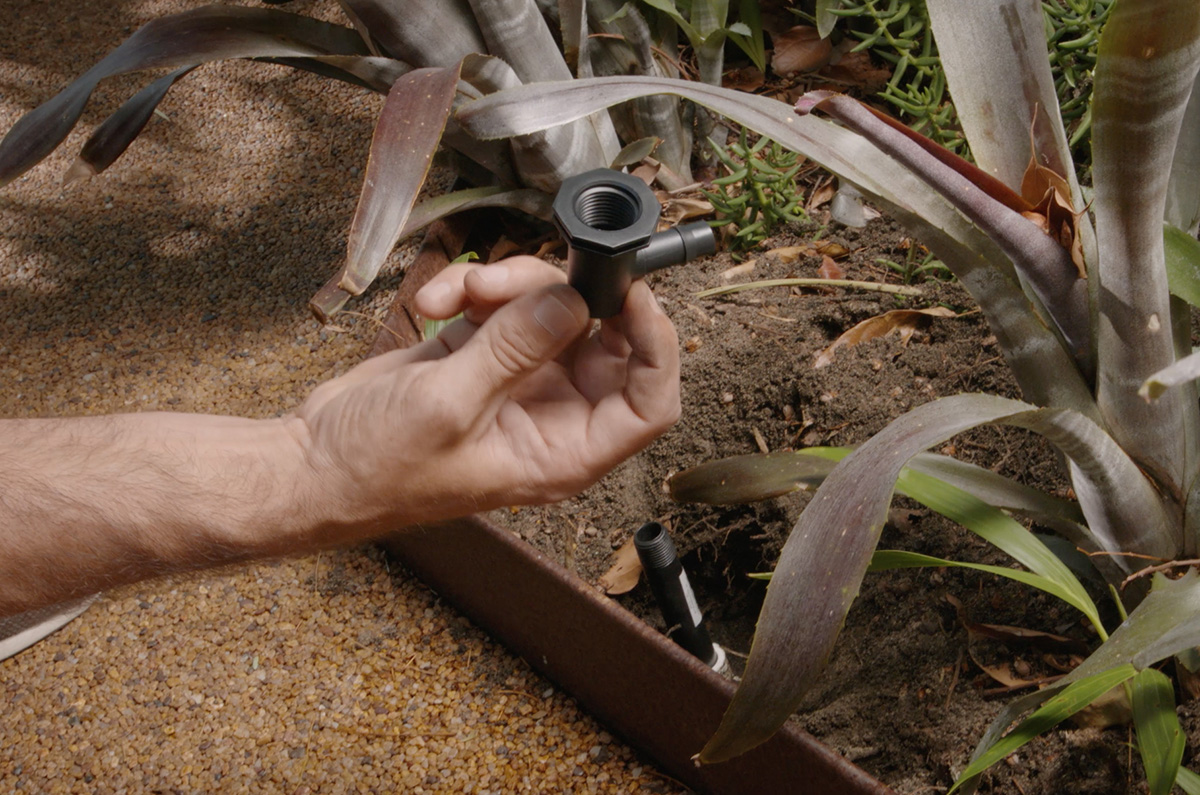
Step 3
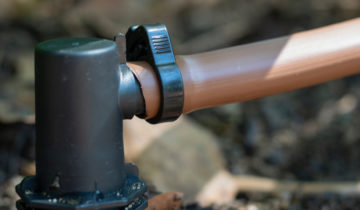
Once the system has been flushed, attached a 13mm threaded elbow ensuring it is on securely and the dripline is pointing in the correct direction. You may need to take off & re-screw to get the dripline in the correct direction.
Step 4
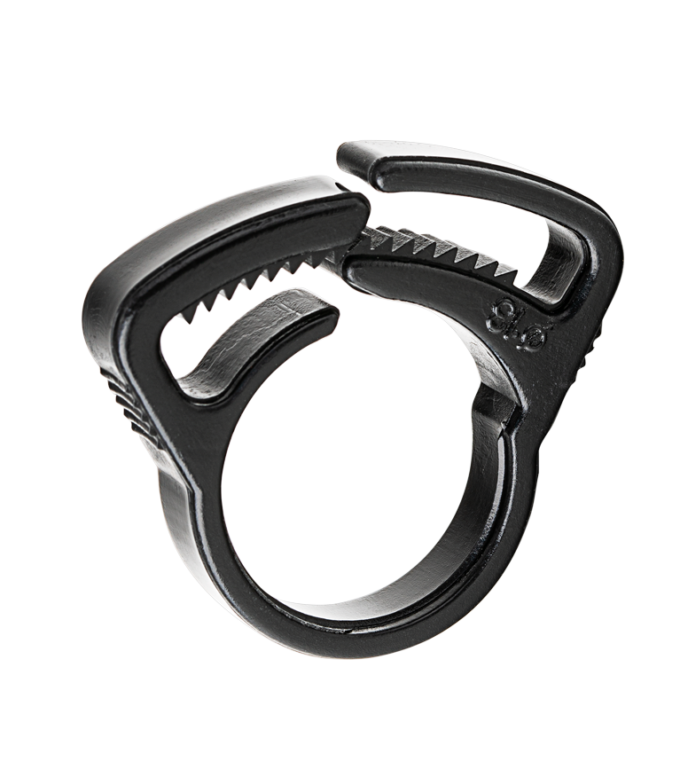
Using a ratchet clamp, secure the 13mm poly pipe onto the end of the elbow and feed this through your garden. If you have spray heads nearby that you will not be using, remove these and place an end cap on the riser.
Step 5
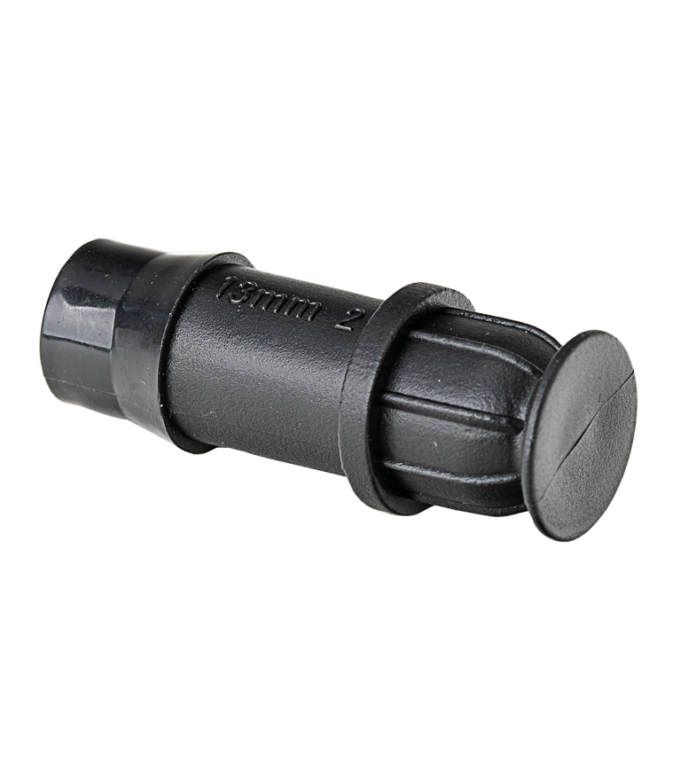
Cut the poly pipe to the desired length, we have used enough to install 3 drip heads. Close off the poly by inserting a 13mm barbed end plug and secure with a ratchet clamp.
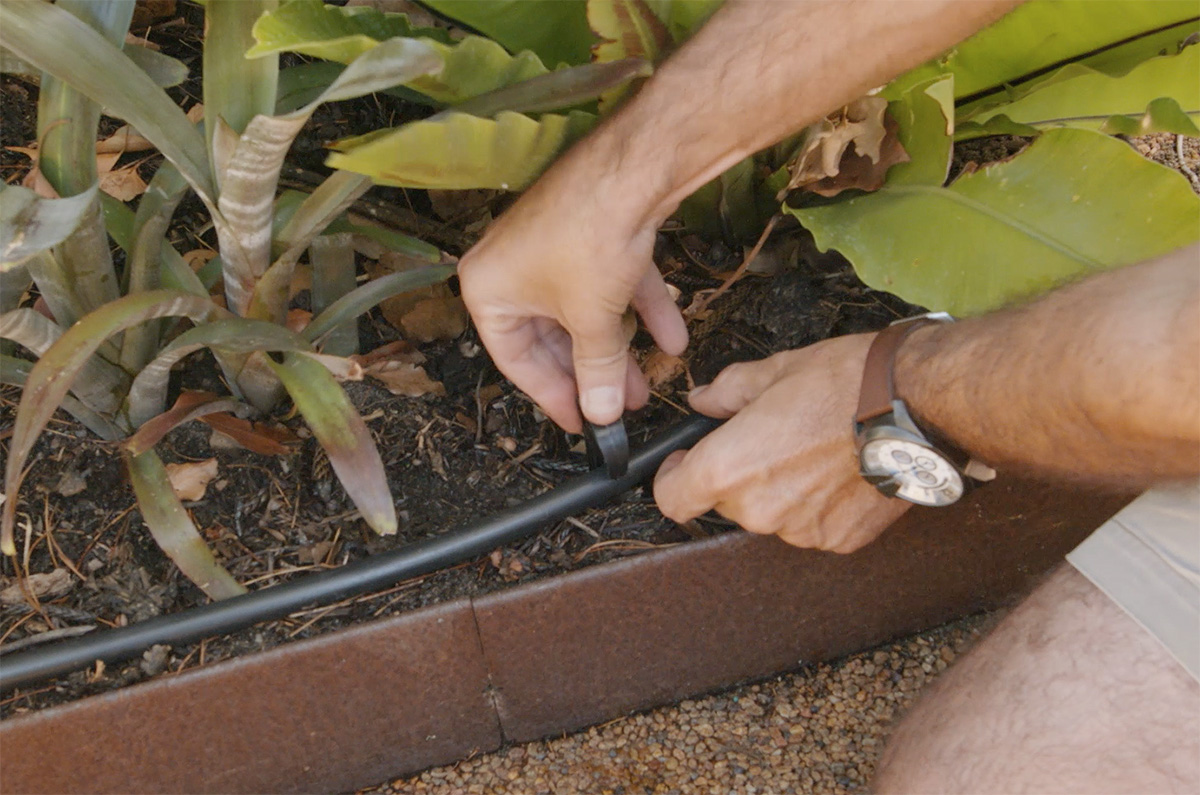
Step 6
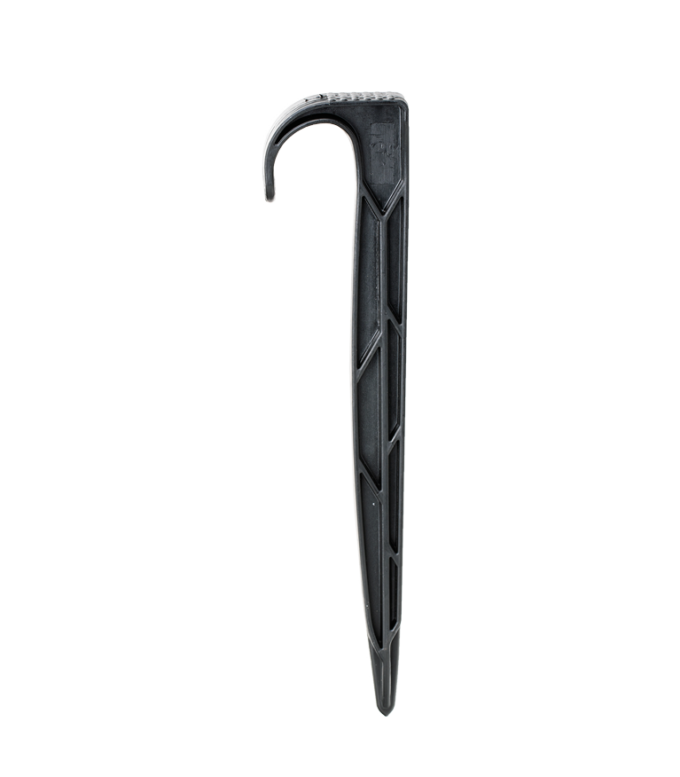
To stop your poly pipe from moving, use hold down stakes along the pipe. We recommend using one stake every 30 to 50cm.
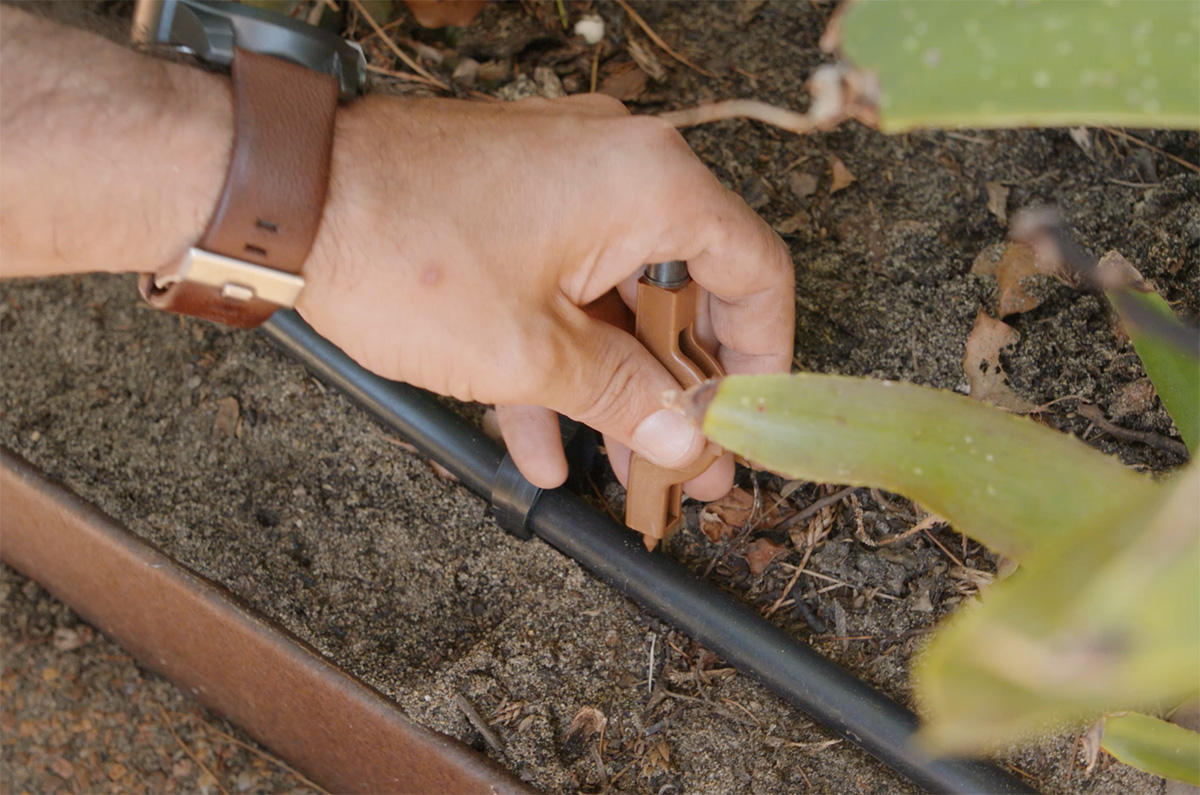
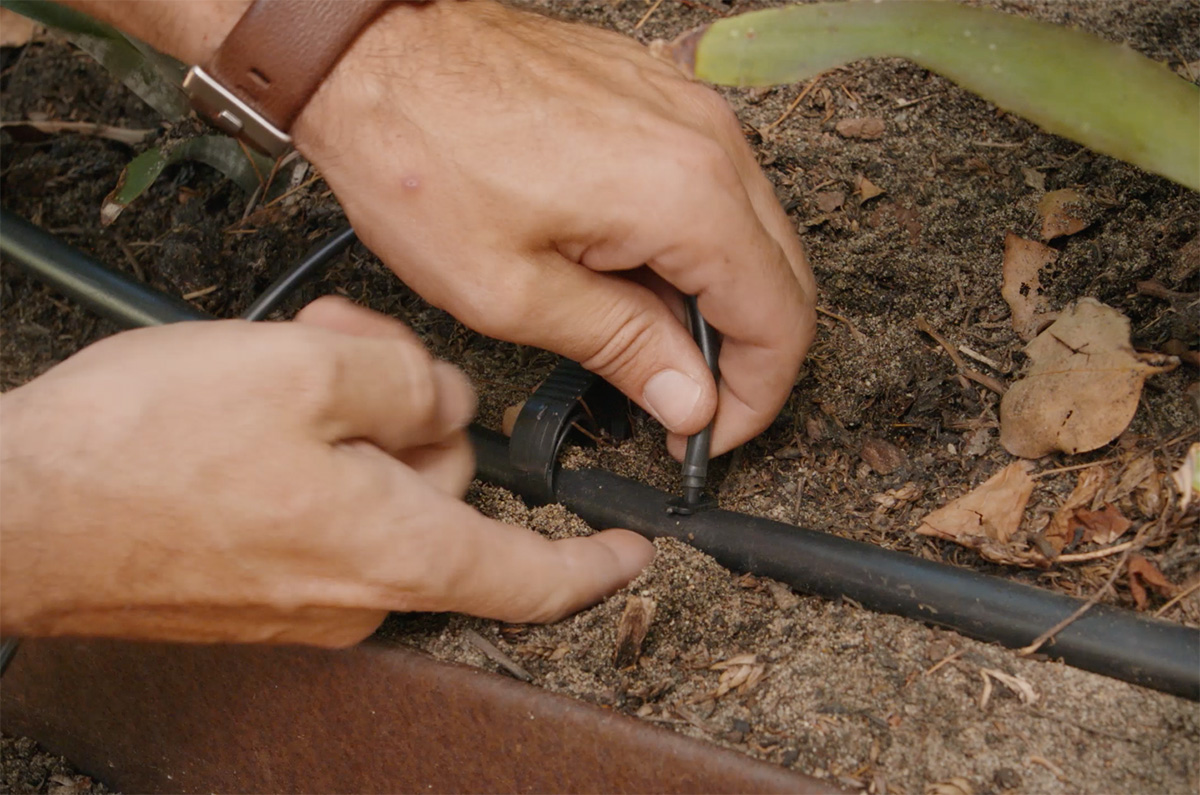
Step 7
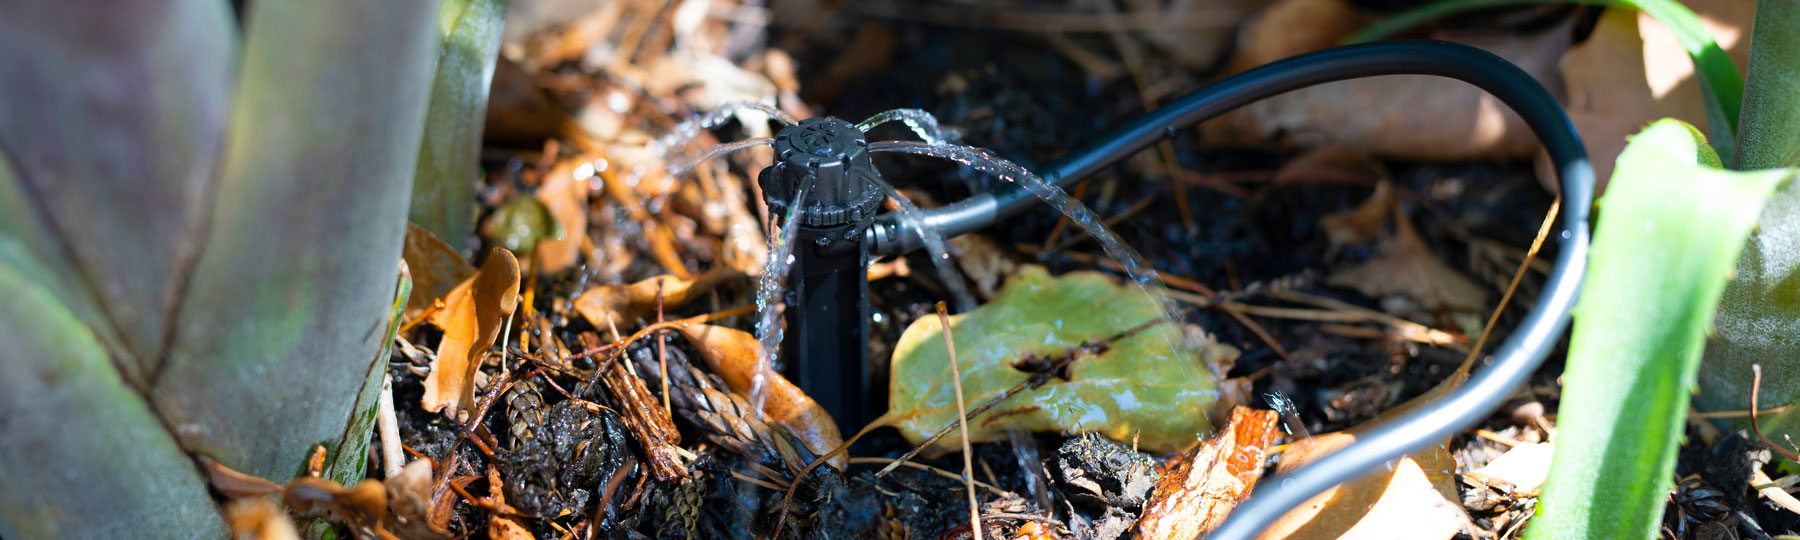
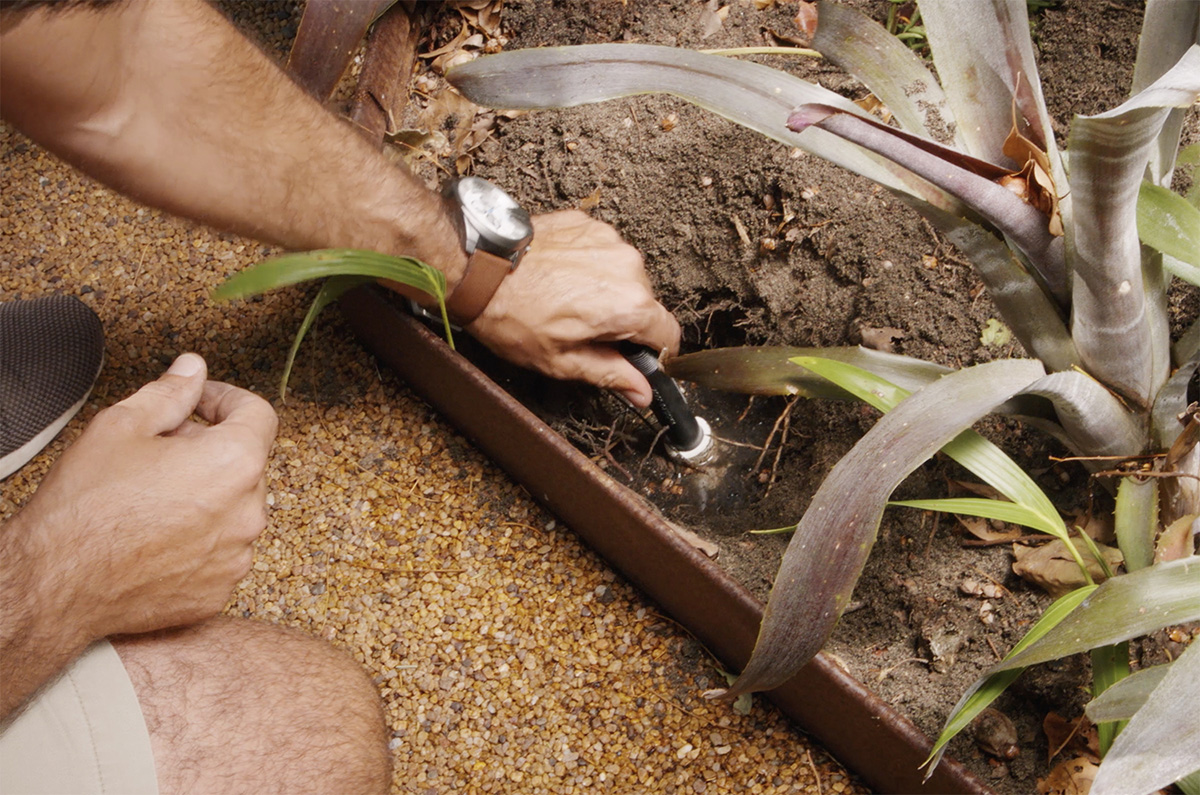
Install the drip head by removing the barbed joiner from the side of the stake, using a universal drip punch, pierce a hole in the poly pipe and insert the barbed joiner.
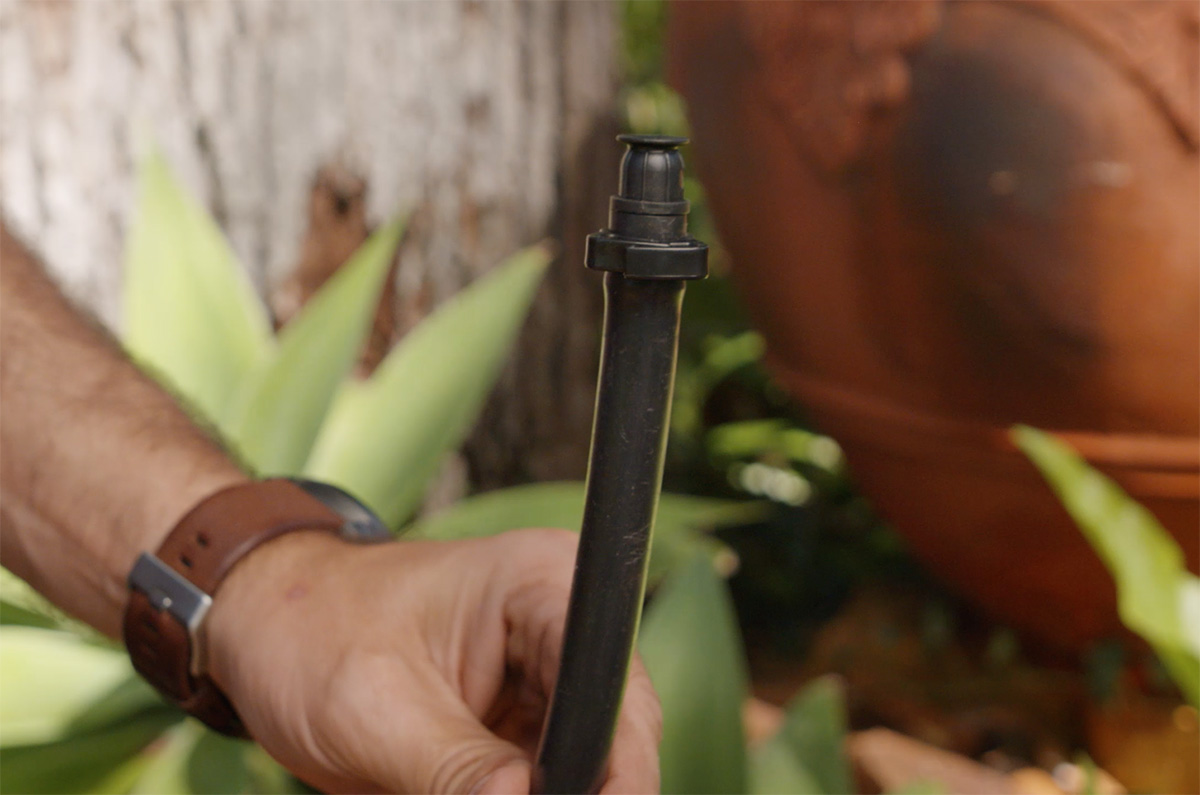
Step 8
We joined 4mm flex tube onto the other end, this will take the water from the main poly pipe to each plant.
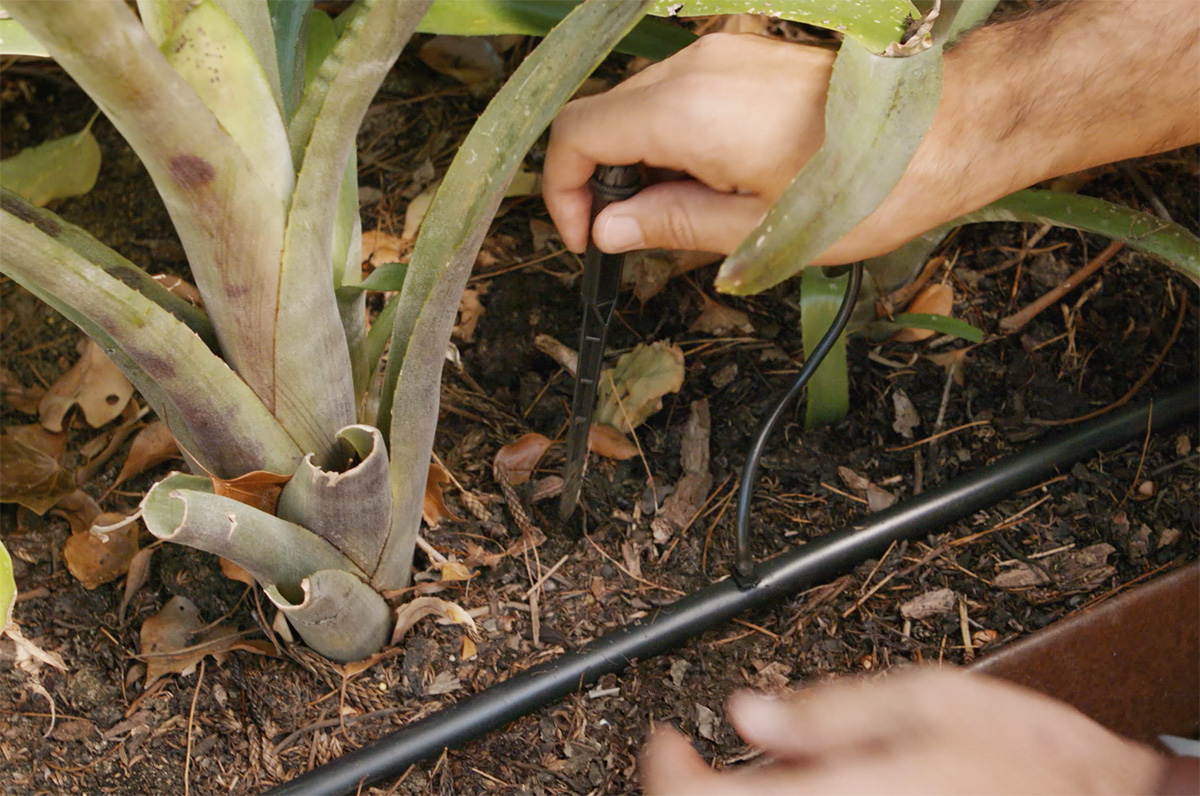
Step 9
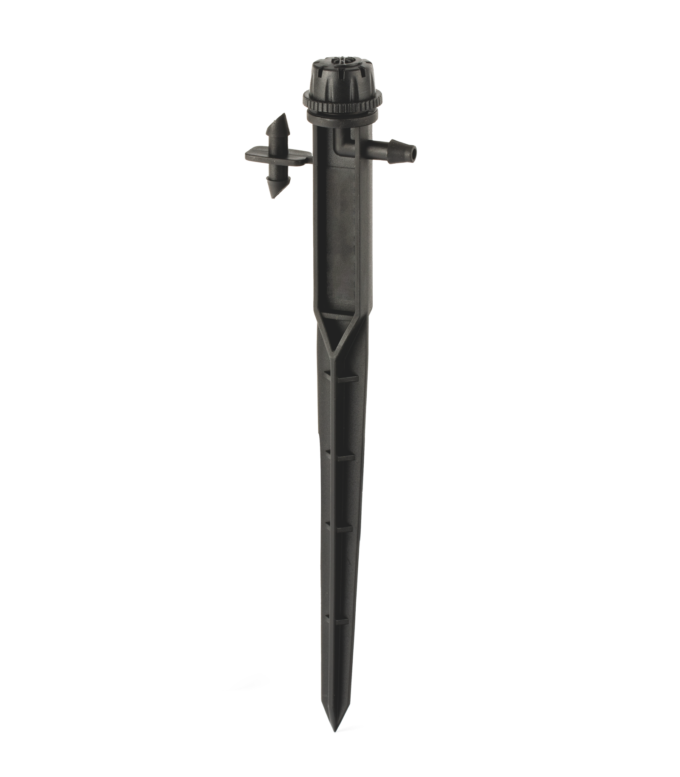
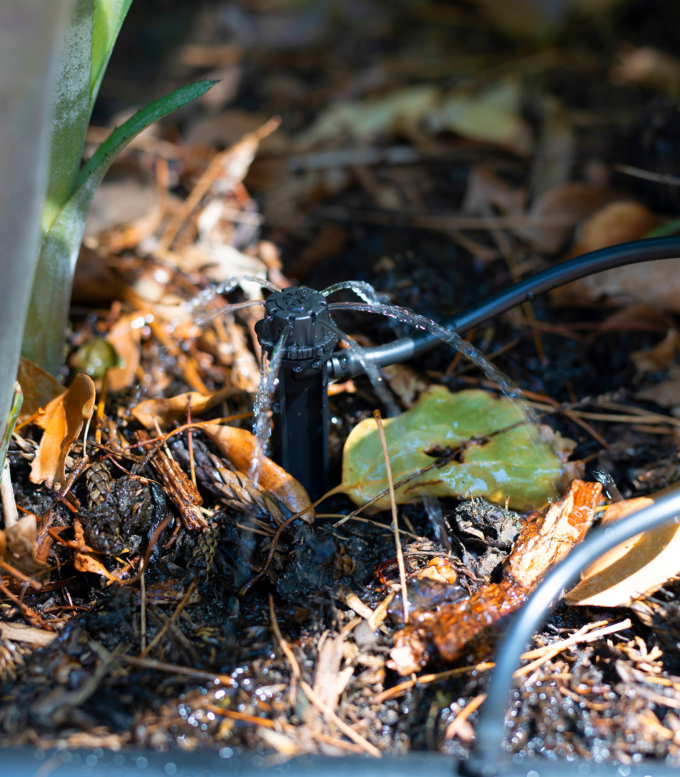
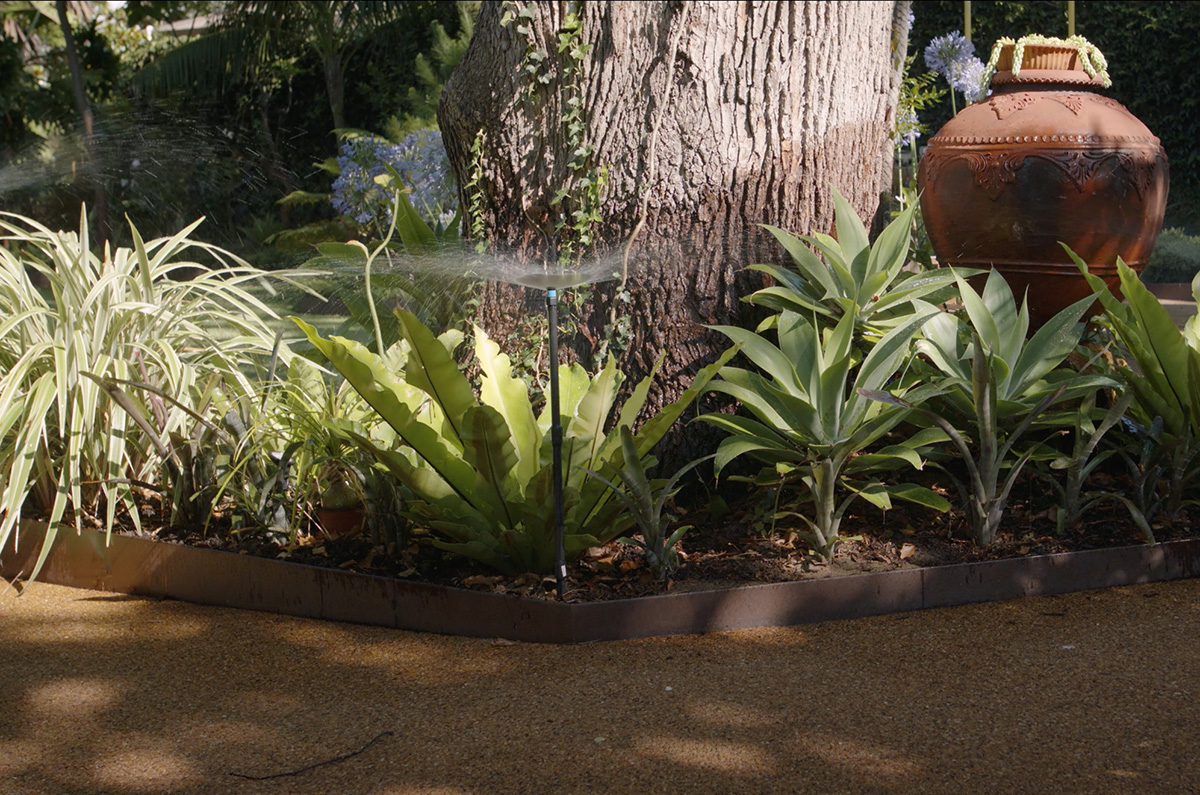
Cut the flex tube to length and join onto your choice of drip head. Here we used a 360° adjustable trickler on a spike. Place the dripper in the ground near the plants that you would like to water and repeat the previous steps for the rest of the drippers.
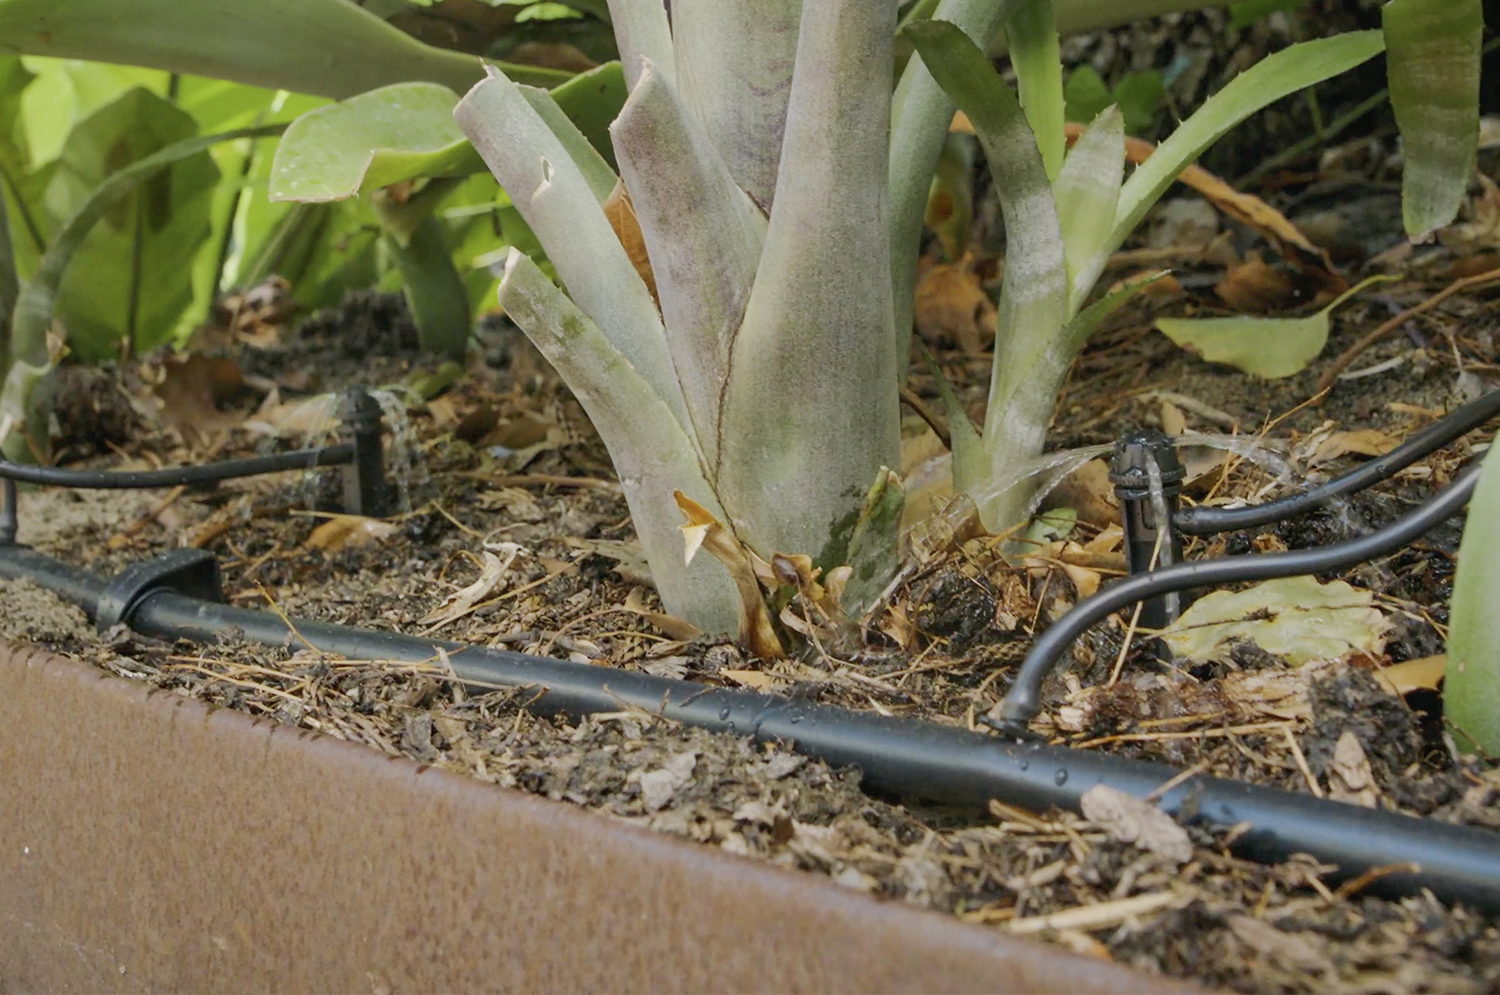
Step 10
Your new Drip Irrigation is now complete and its time to test the system! Turn on your sprinkler system and adjust the trickler heads where needed. We recommend checking your soil moisture after the first waterings and adjusting as necessary.