BEFORE YOU ADJUST THE K-RAIN RPS75i
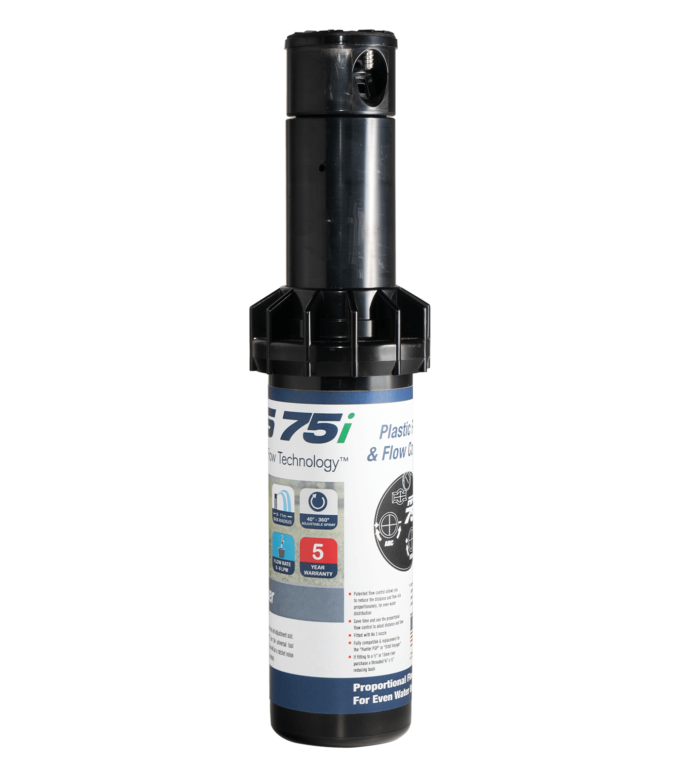
NOTE: The RPS 75i with Intelligent Flow Technology™ is factory preset with a 180° arc setting, and includes a pre-installed #3 nozzle. It has a fixed right start and an adjustable left stop.
If you are adjusting your nozzle after interrupting a rotation cycle, you will need to rotate the nozzle turret anti-clockwise, until you reach the left stop. Now you can rotate it clockwise until you reach the right start. This is the fixed side of the arc and it must be in this position in order for you to make any arc adjustments.
For a video guide, you can watch a tutorial here.

INCREASING THE ARC
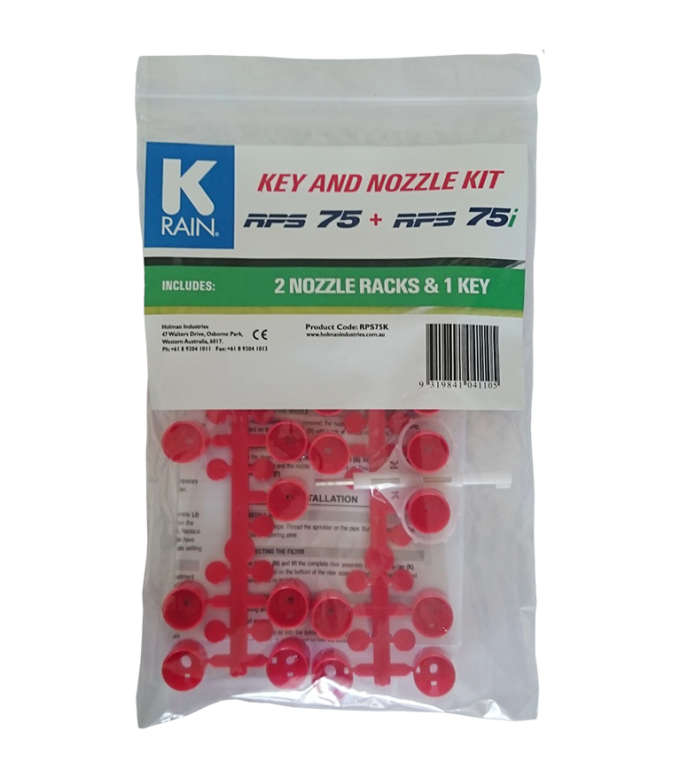
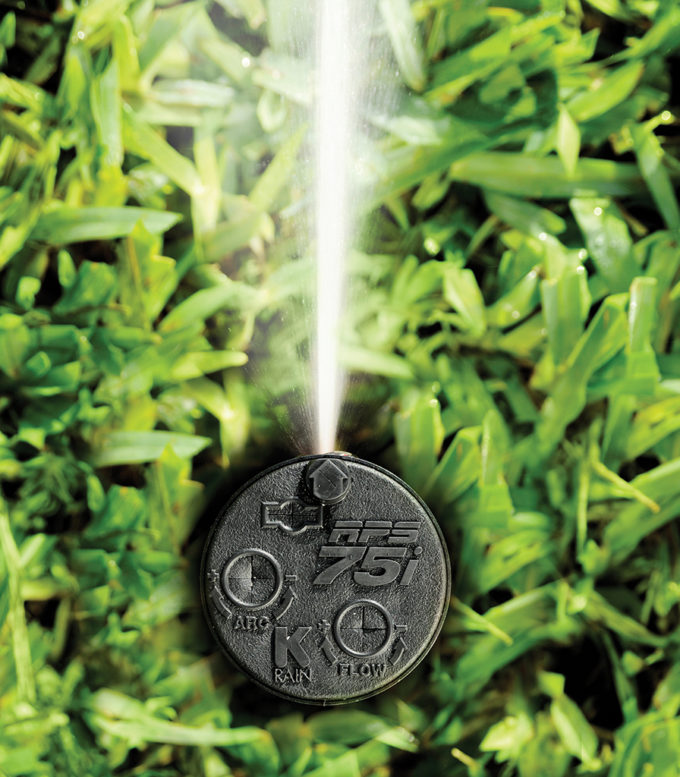
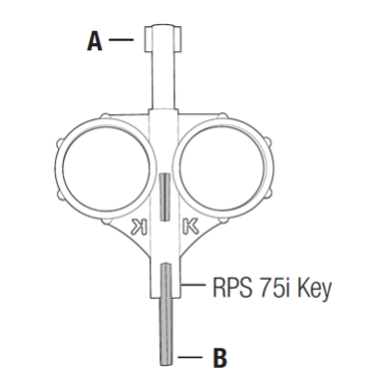
The key used to adjust the K-Rain RPS75i Gear Drive has two sides, in order to increase the arc, we will need to use the wider or top part of the key (A).
- Slot this end into the arc set adjustment slot and rotate clockwise while holding the nozzle turret.
- Each 360º turn that you complete will increase the arc by 90º, the arc is adjustable from 40º up to 360º.
- When you reach 360º the key will stop turning or you will hear a ratcheting noise.
DECREASING THE ARC
To decrease the arc, follow the same steps as before, except this time rotate the key counter-clockwise.
- Each 360º turn that you complete will decrease the arc by 90º, the arc is able to be adjusted between 40º and 360º.
- When you reach 40º the key will stop turning or you will hear a ratcheting noise.
CHANGING THE DISTANCE / FLOW CONTROL
To change the distance of the flow stream:
- Insert the wider or top part of the key (A) into the Distance / Flow slot and turn the key counter-clockwise.
- Note: As the distance is decreased the flow rate will also decrease, if you turn the key counter-clockwise until it stops, you will completely shut off the head.
- To increase the flow, turn the key clockwise.
CHANGING A NOZZLE
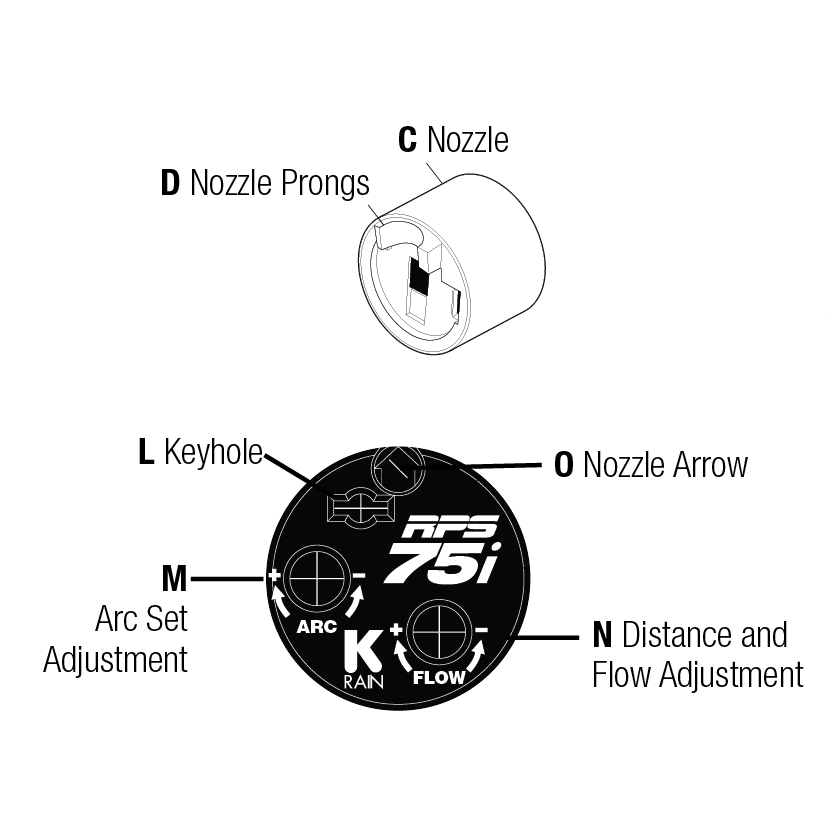
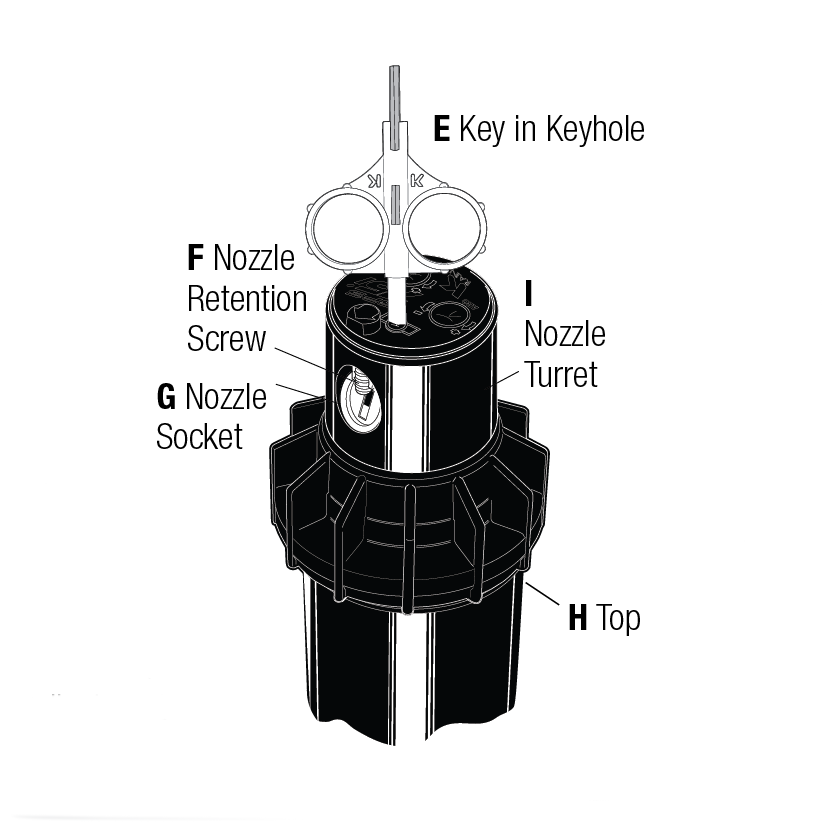
- Use the small bottom part of the key (B) to unscrew the nozzle retention screw (F). Insert the key into the Nozzle Arrow (O). Turn the screw counter-clockwise to remove, or clockwise to re-install.
- Insert the large end of the Key (A) into the Keyhole (L) and turn 90º counter-clockwise, this will ensure that the key does not slip out when you are pulling up the riser. Pull up the Riser (J) completely and hold it with one hand to access the nozzle socket (G)
- With the nozzle retention screw already removed, the nozzle (C) may be removed by pulling it out towards the nozzle prongs (D) with a pair of pliers.
Press the nozzle of choice (C) back into the nozzle socket (G). Make sure the nozzle number is visible and the nozzle “prongs” (D) are up. Then, re-install the nozzle retention screw (F).
INSPECTING THE FILTER
After you adjust the K-Rain RPS75i, inspecting and cleaning the filter can make sure your gear drive is working optimally.
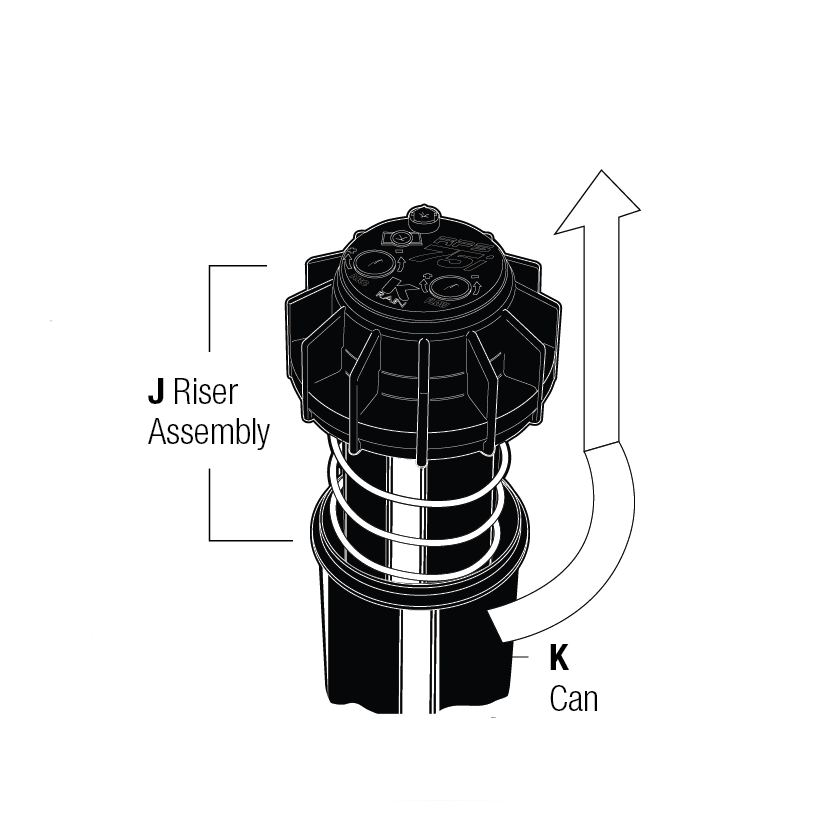
- Unscrew the top of the gear drive (H) and completely remove the sprinkler assembly (J) from the can (K). The filter will be located at the bottom of the sprinkler assembly and can be easily removed. This allows for easy cleaning and inspection of the filter.